
This topic is hardly new among survivalists and campers, but when I sat down the other day to make some MRE’s for summer camping I thought I’d take a few pictures and share with you how I make mine. I’m going to put a few of these in my bug-out-bag too, because at the moment I’ve just got some loose food items floating around in there and this method will help keep my pack organized.
For those of you who may not know MREs are handed out in the military and stands for Meal Ready to Eat. Military MREs come with many different entrees and you can make yours the same way. You’re limited only by your imagination.
The ones I put together here are pretty basic, but should give you a good idea of how to go about making your own. To keep things neat and help them stay fresh for a long time I vacuum seal mine. Some people will calculate the amount of calories for each meal and figure out exactly what they’re getting for protein, carbs, etc. I don’t get that precise with my meals although it’s not a bad idea if you’re trying to figure out how much you should take on an extended trip.
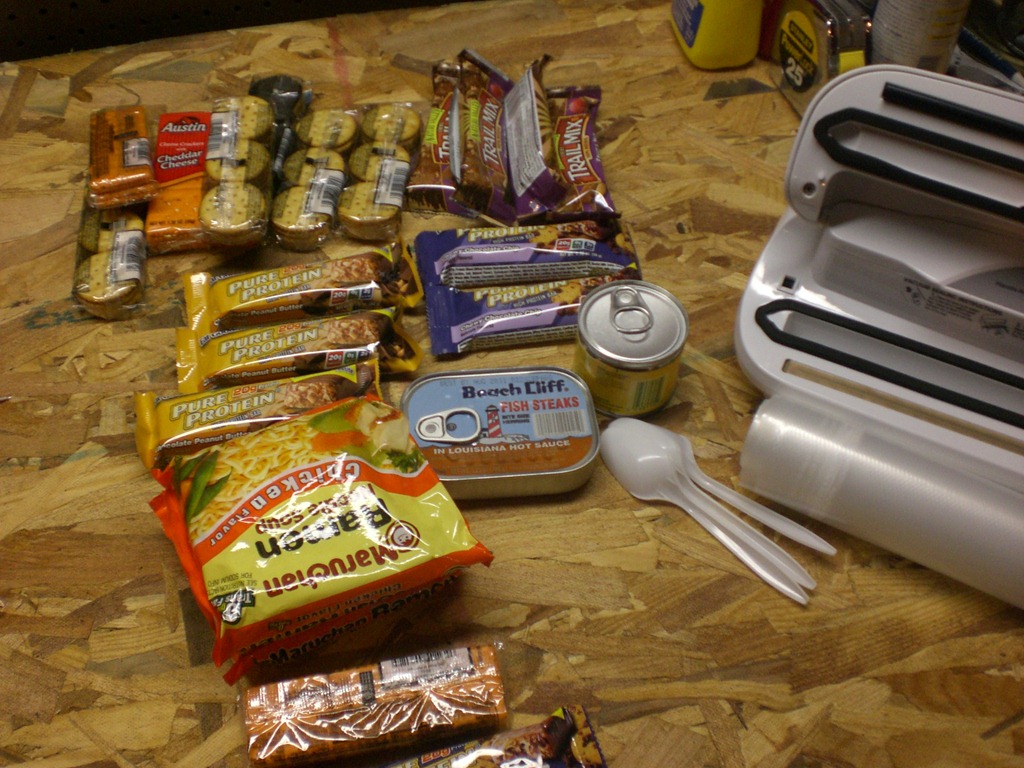
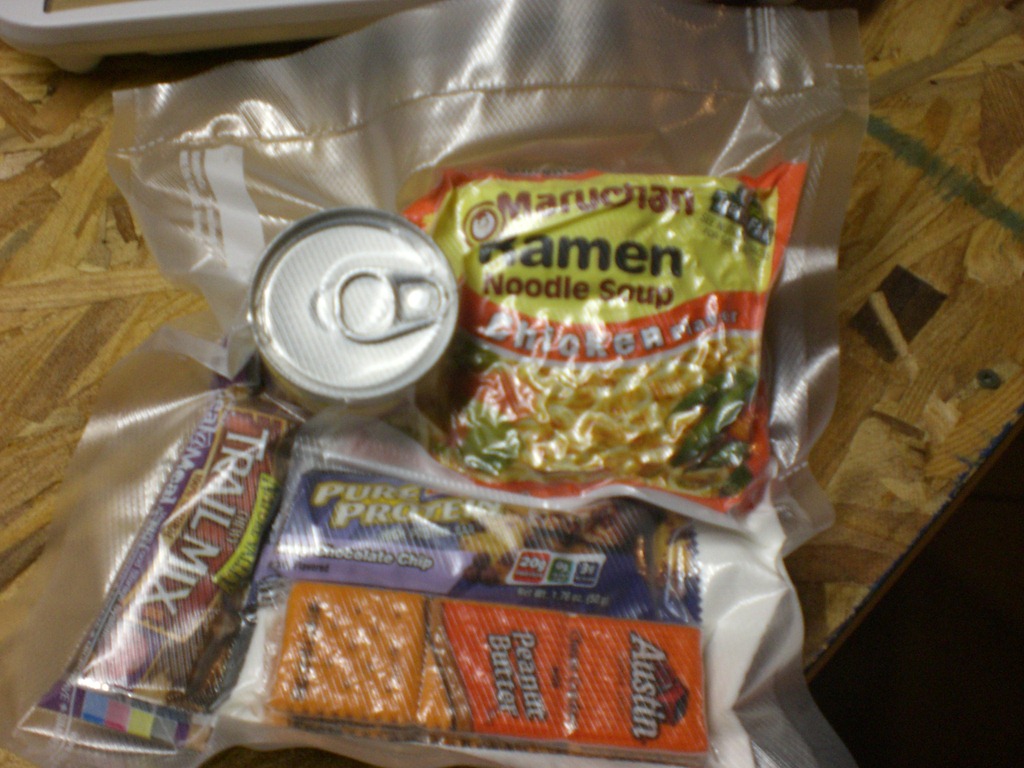
For this set I used protein bars, crackers, Ramen Noodles, trail mix bars, fruit cups, coffee singles (2 per MRE), and I also put in a spoon, matches and a few paper towels to use as toilet paper or whatever.
Step 1 is to assemble the items you’d like to put in your MRE. (Below)
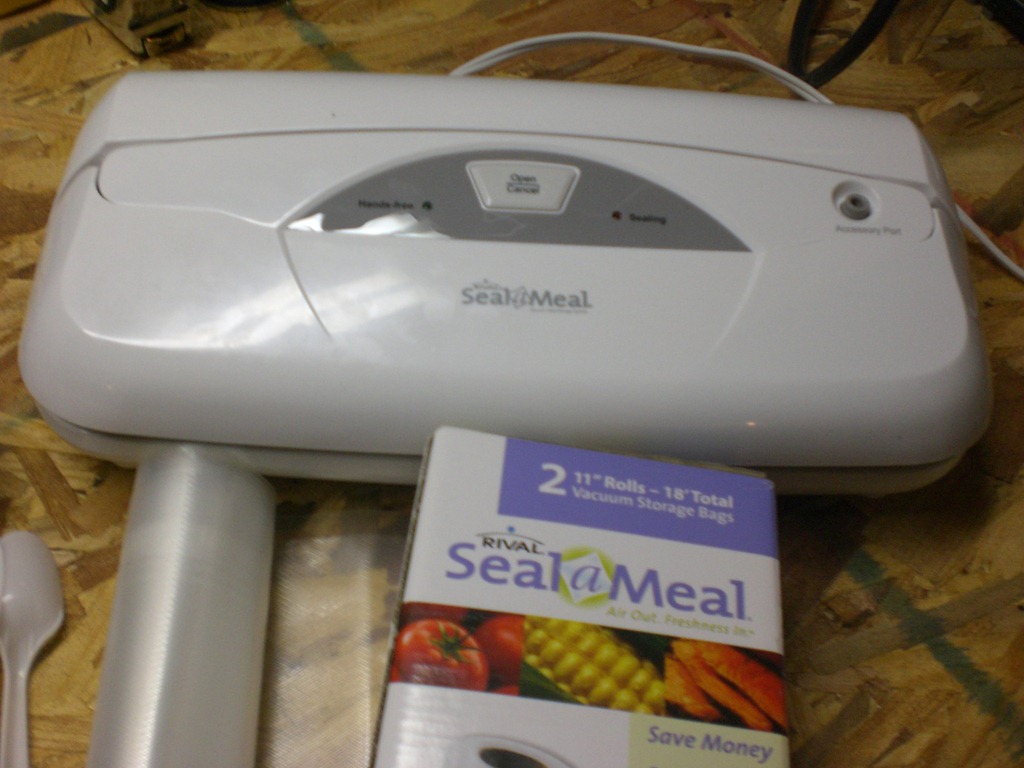
Below you can see the device I use to vacuum pack my MREs. This is a Seal a Meal that I bought at Target in the $60 range, if I remember correctly.
The bags I use are the continuous feed kind, so you have to seal one end first. (Below) You can buy individual bags too, but I vacuum seal meat and other things to freeze and like to have this kind of bag so that I don’t waste any more than I have to.
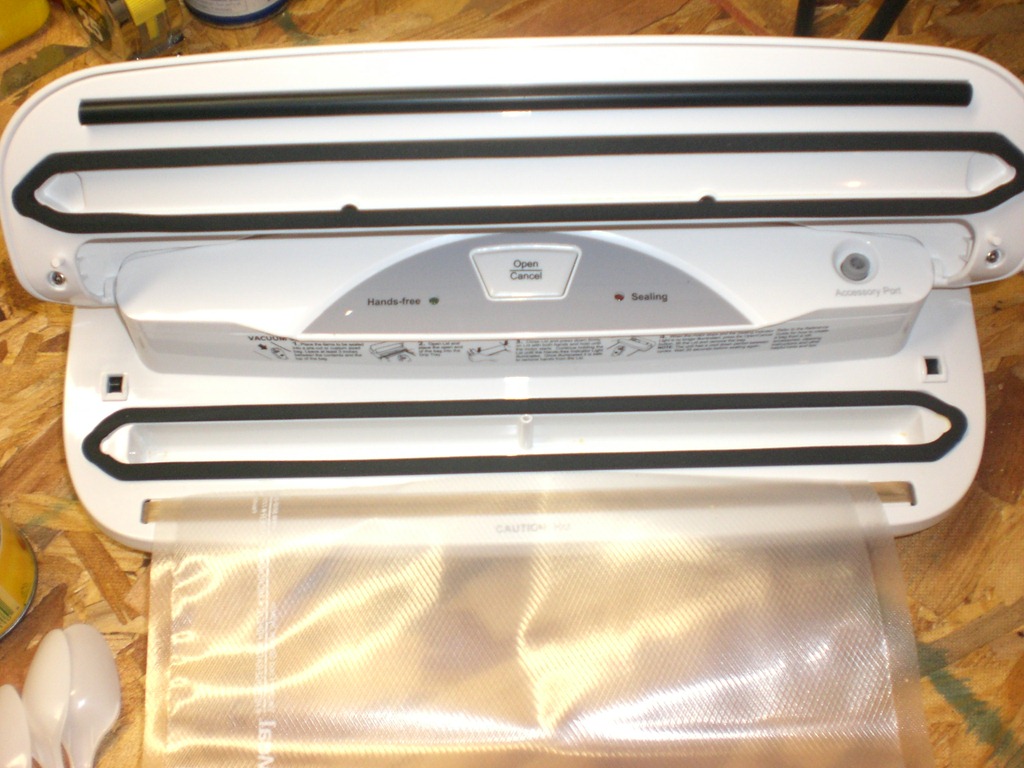
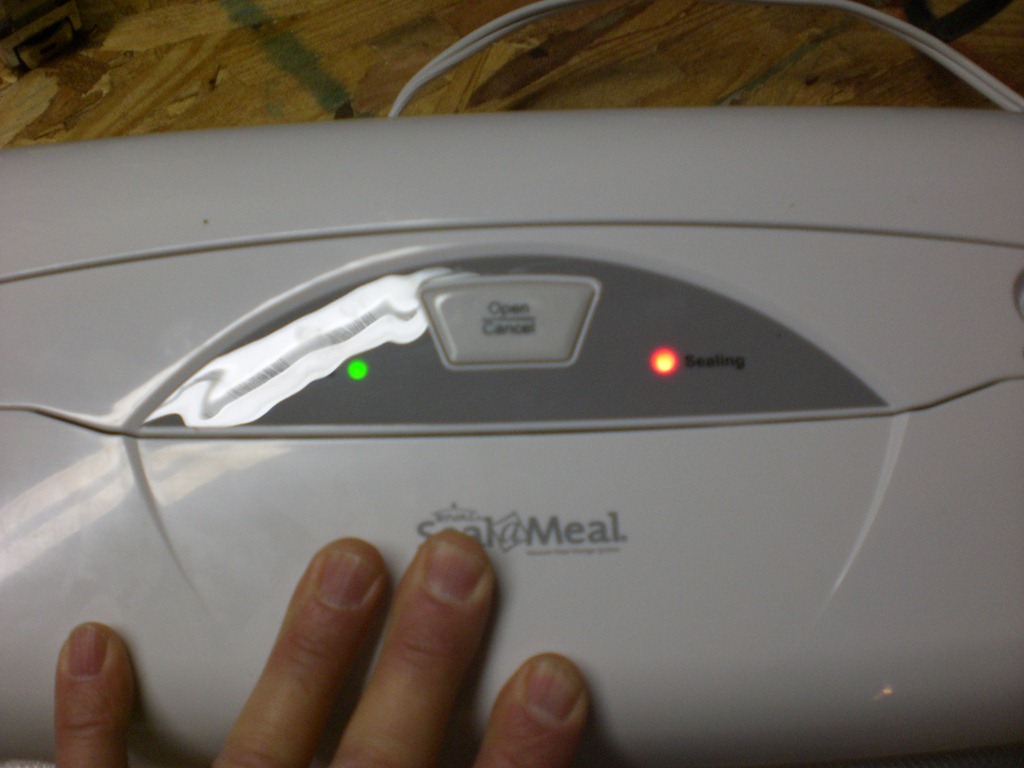
Put the end of the bag in the sealer (above), close the lid and hold it down until the “Sealing” light comes on and then turns off. (Below.) This becomes the bottom of the bag.
Next , put the items you want on top of the bag to measure how much you need to cut. (Below.)

Put everything in the bag neatly. Now put the end of the bag in the sealer and close the lid. The vacuum sealer starts up and starts sucking the air out of the bag.

Below you can see the air starting to get sucked out.

Now you can see all the air finally removed from the meal.
Once you have everything assembled it literally just takes minutes to prepare a bunch of meals for later use.
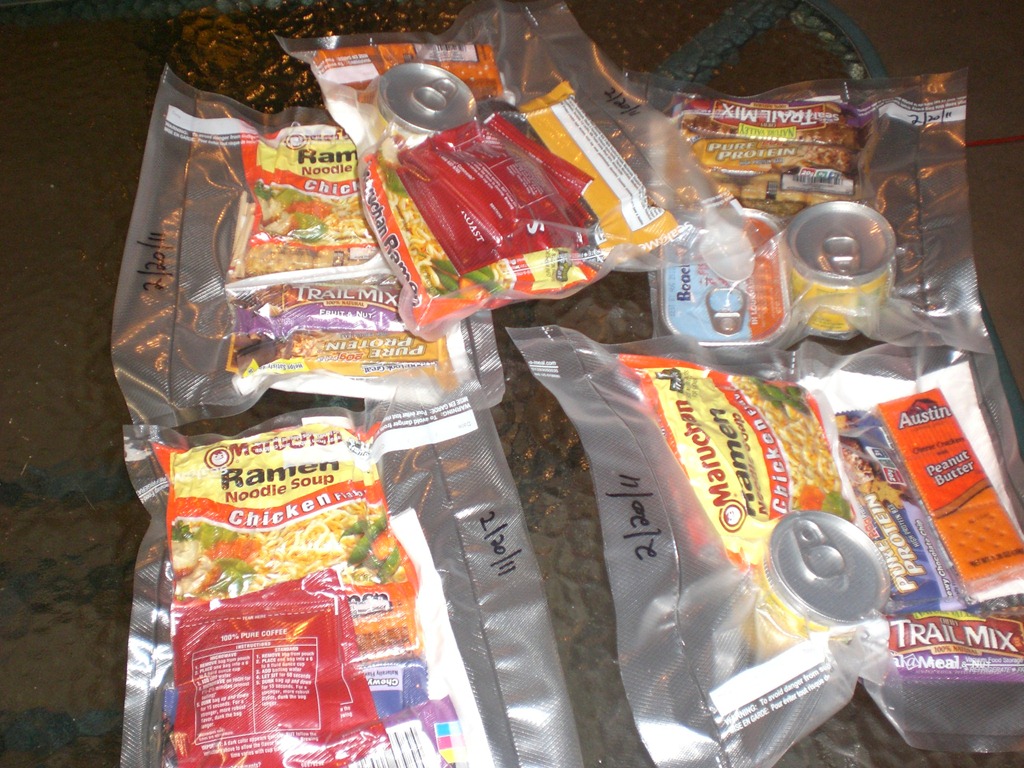
The last thing I do is put a date on the package so I’ll know what date they were prepared on. I usually give them a two year expiration although I’m pretty sure they’d be good for a long time after that.
Other ideas I’ve had for these were to put in tuna packs and a single serving of mayo, plus nuts, prepackaged rice meals, a single serving of Gatorade or something along those lines. I’ve also taken nuts and/or GORP and divided them out into baggies and put those in the meal. I figured with the air removed they’d stay fresh for a long time even after they’ve been removed from the original packaging.
In my post about the Coffee Can Survival Kit I got some terrific feedback from you readers, so I thought I’d push my luck and see what you would put in your MREs. Be creative, but keep in mind you’ll have to carry these meals when you’re hiking or bugging out, so you’ll want to keep them somewhat light. In the pictures above you’ll see some canned stuff, which I don’t often do because they add a little extra weight.
So here’s my question: What would you put in your MREs?
-Jarhead Survivor
